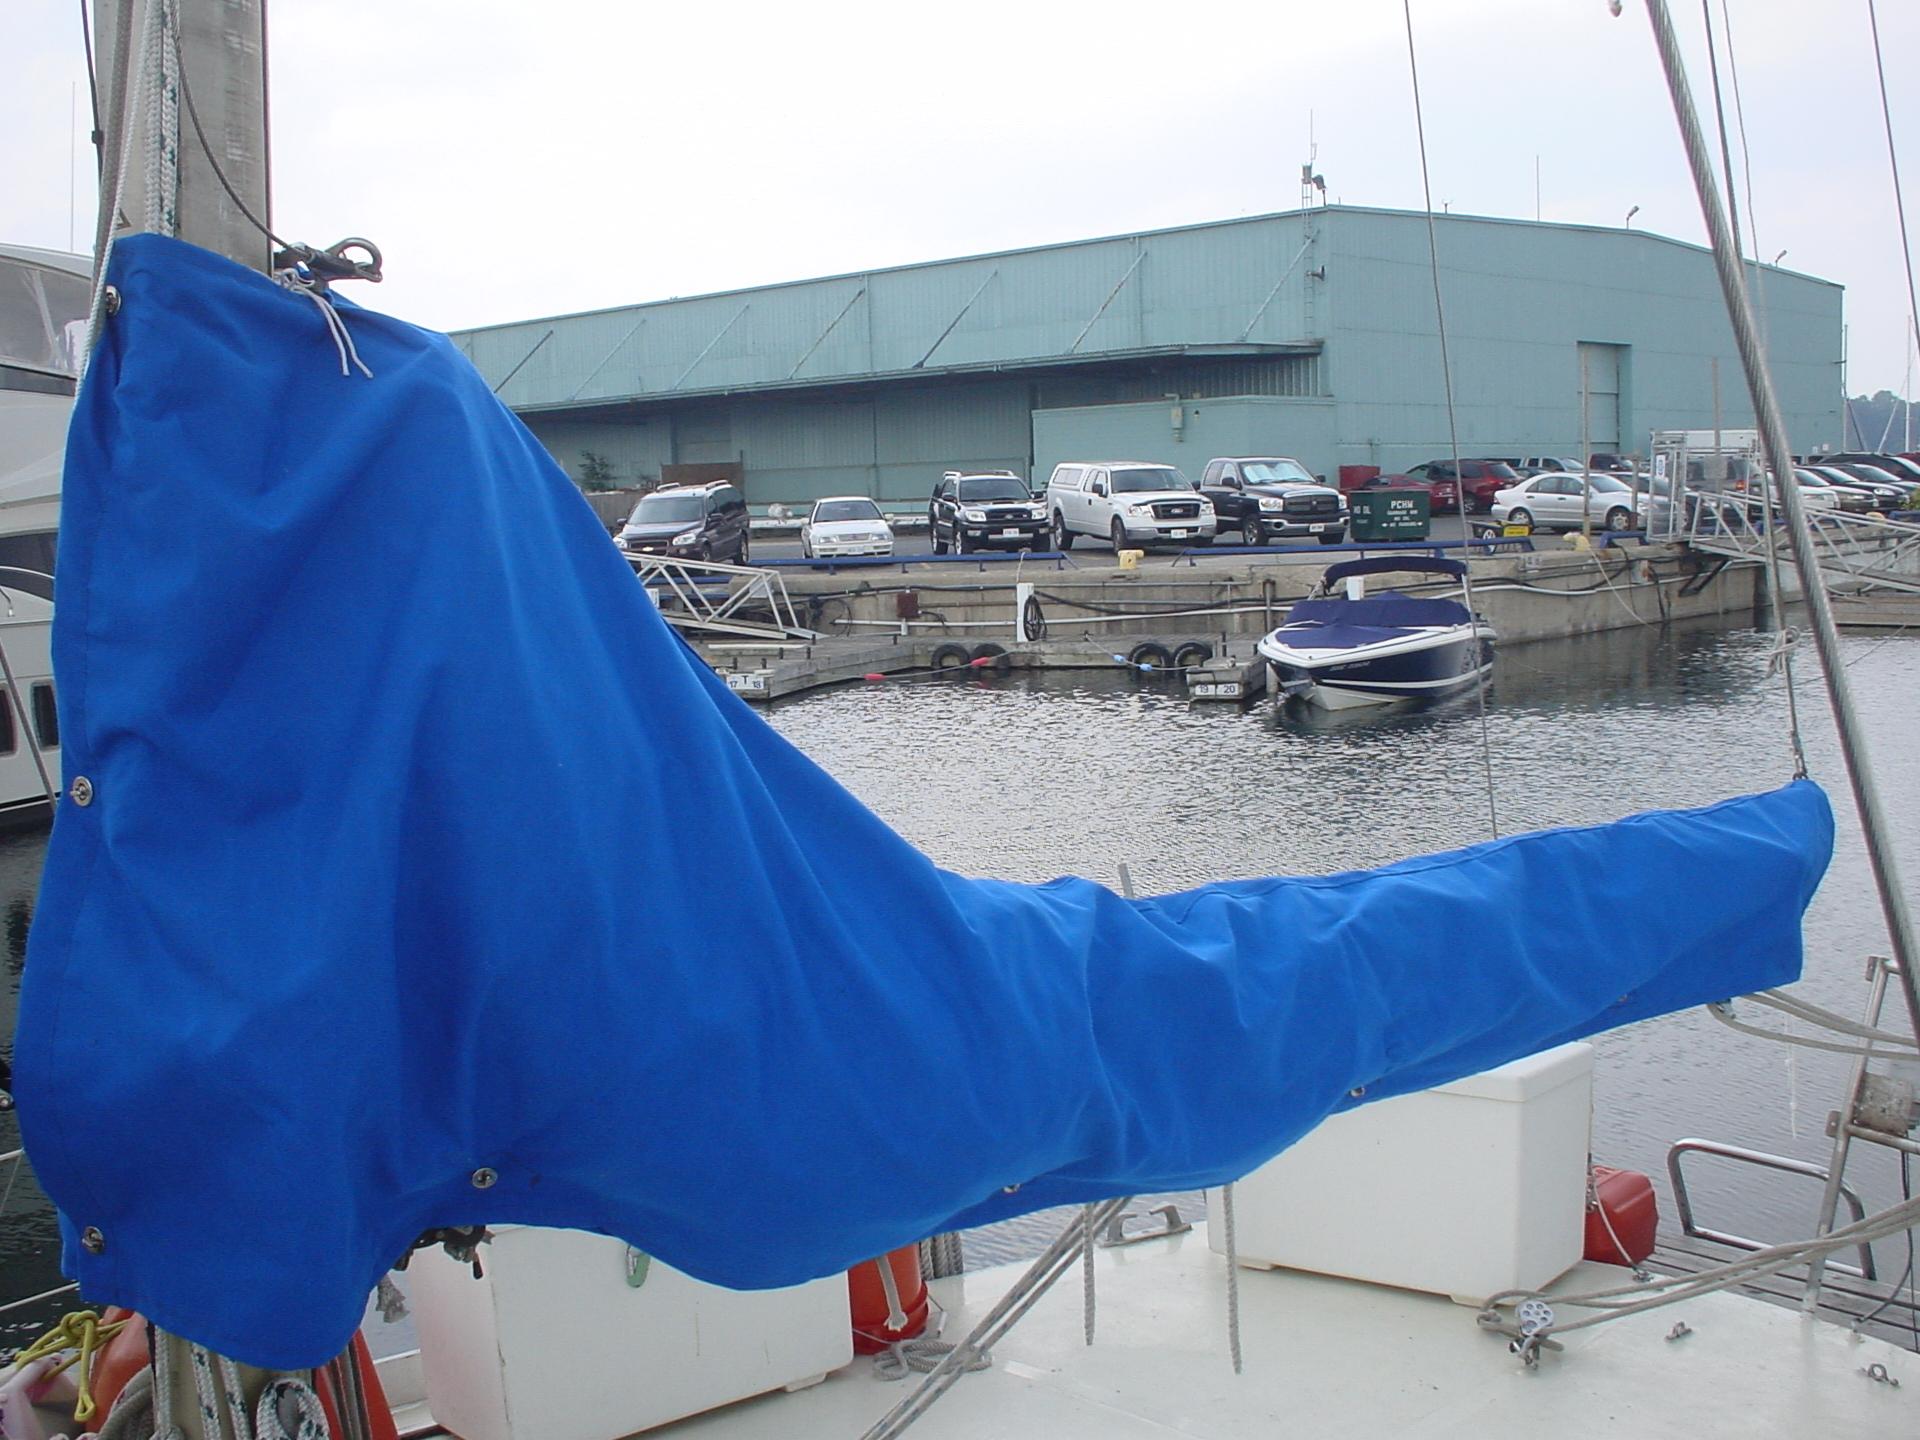
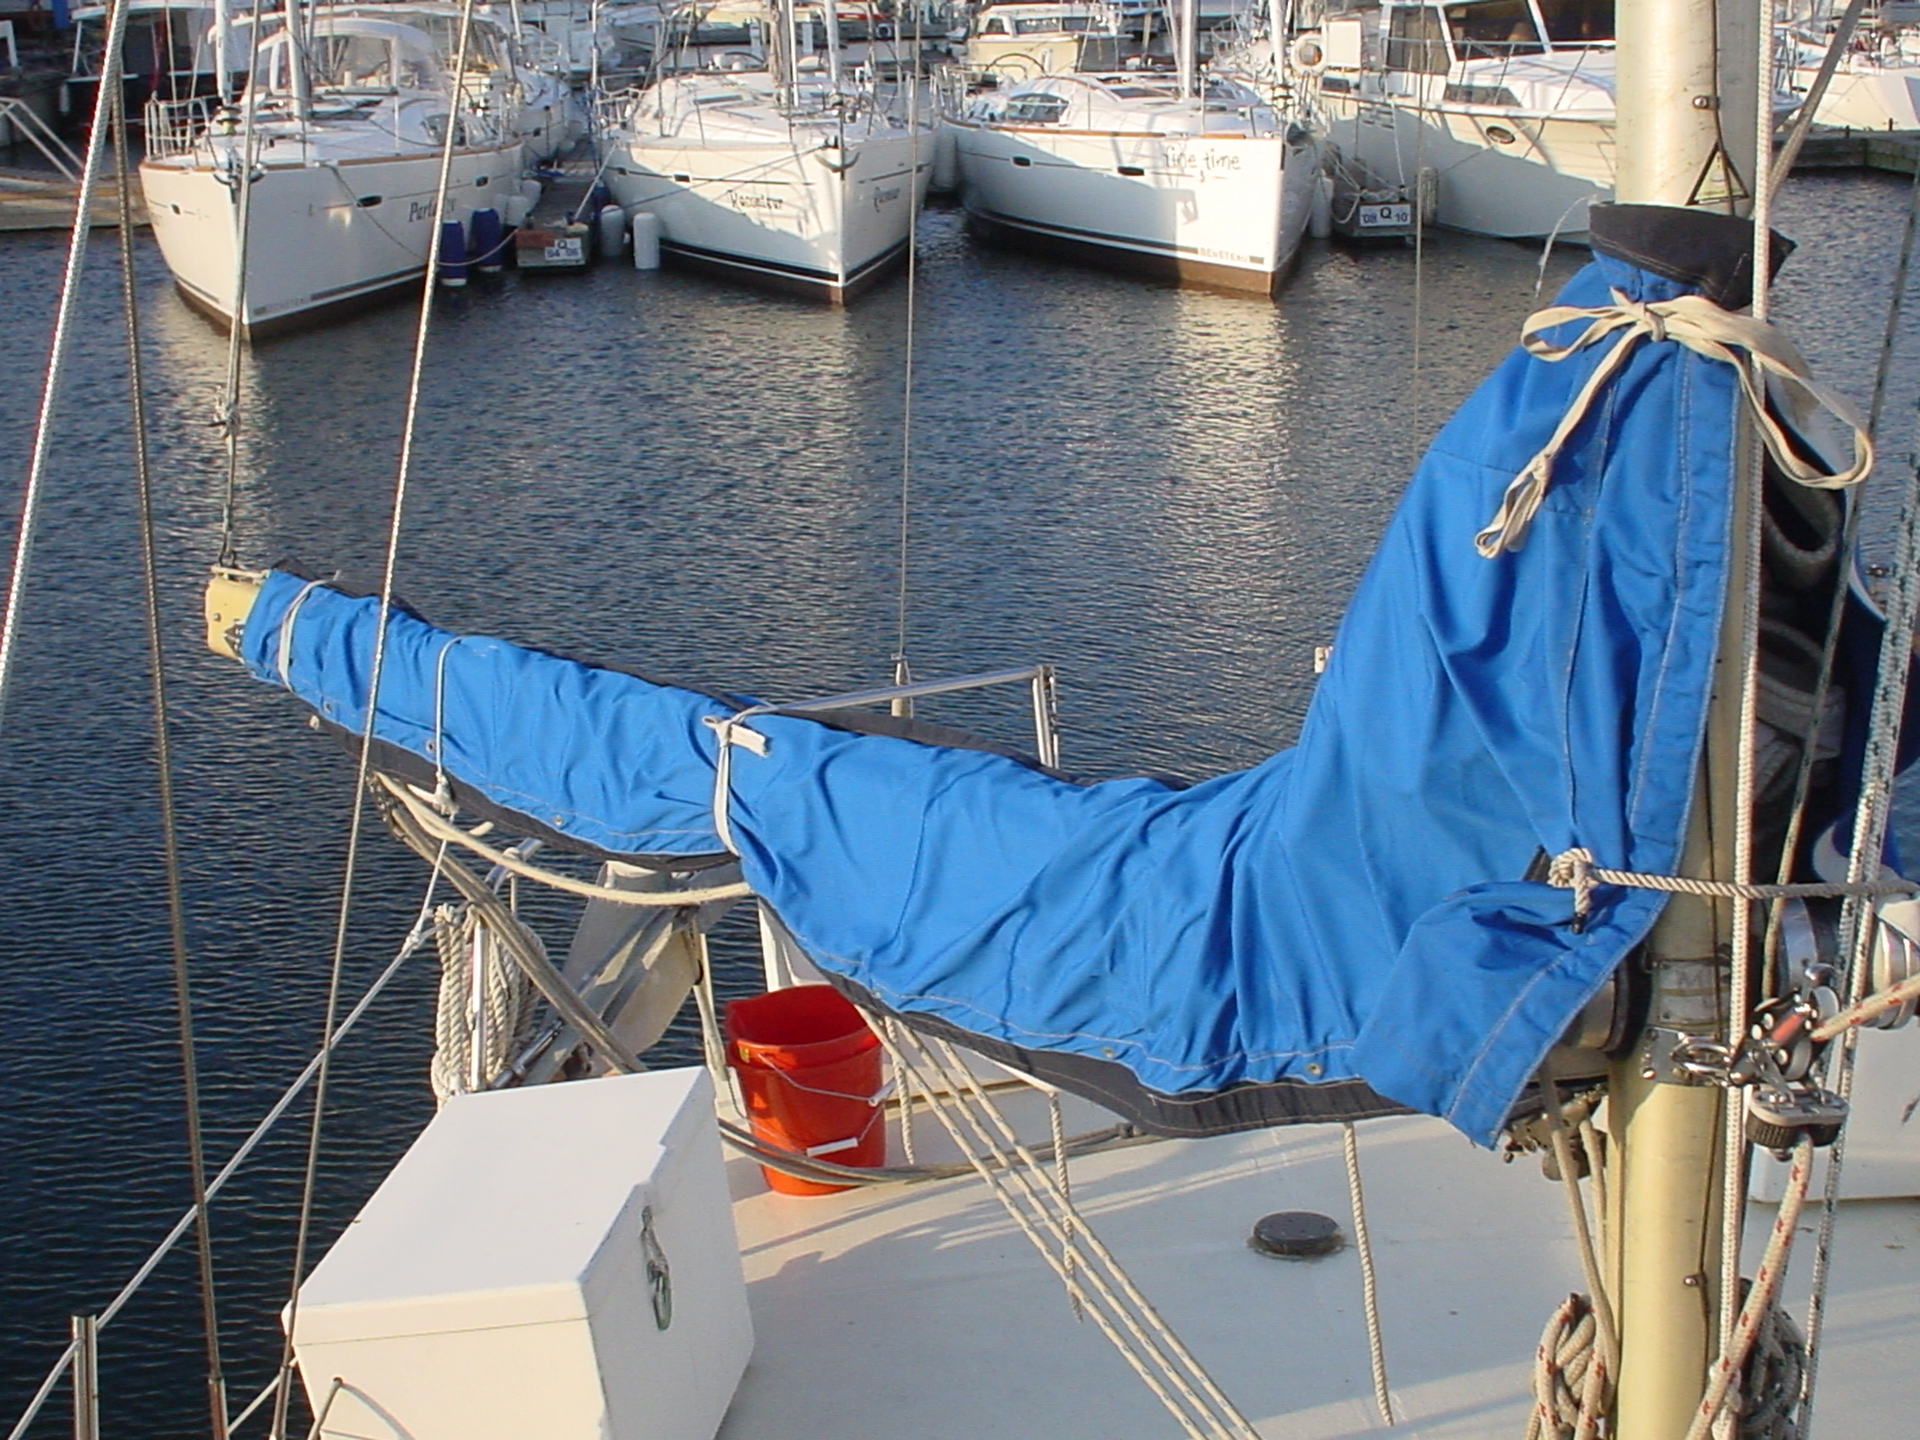
Our boat has terrible, ugly, sail covers which we inherited. It looks as though they were made to fit another boat at some point and had sections added to try to fit this boat.
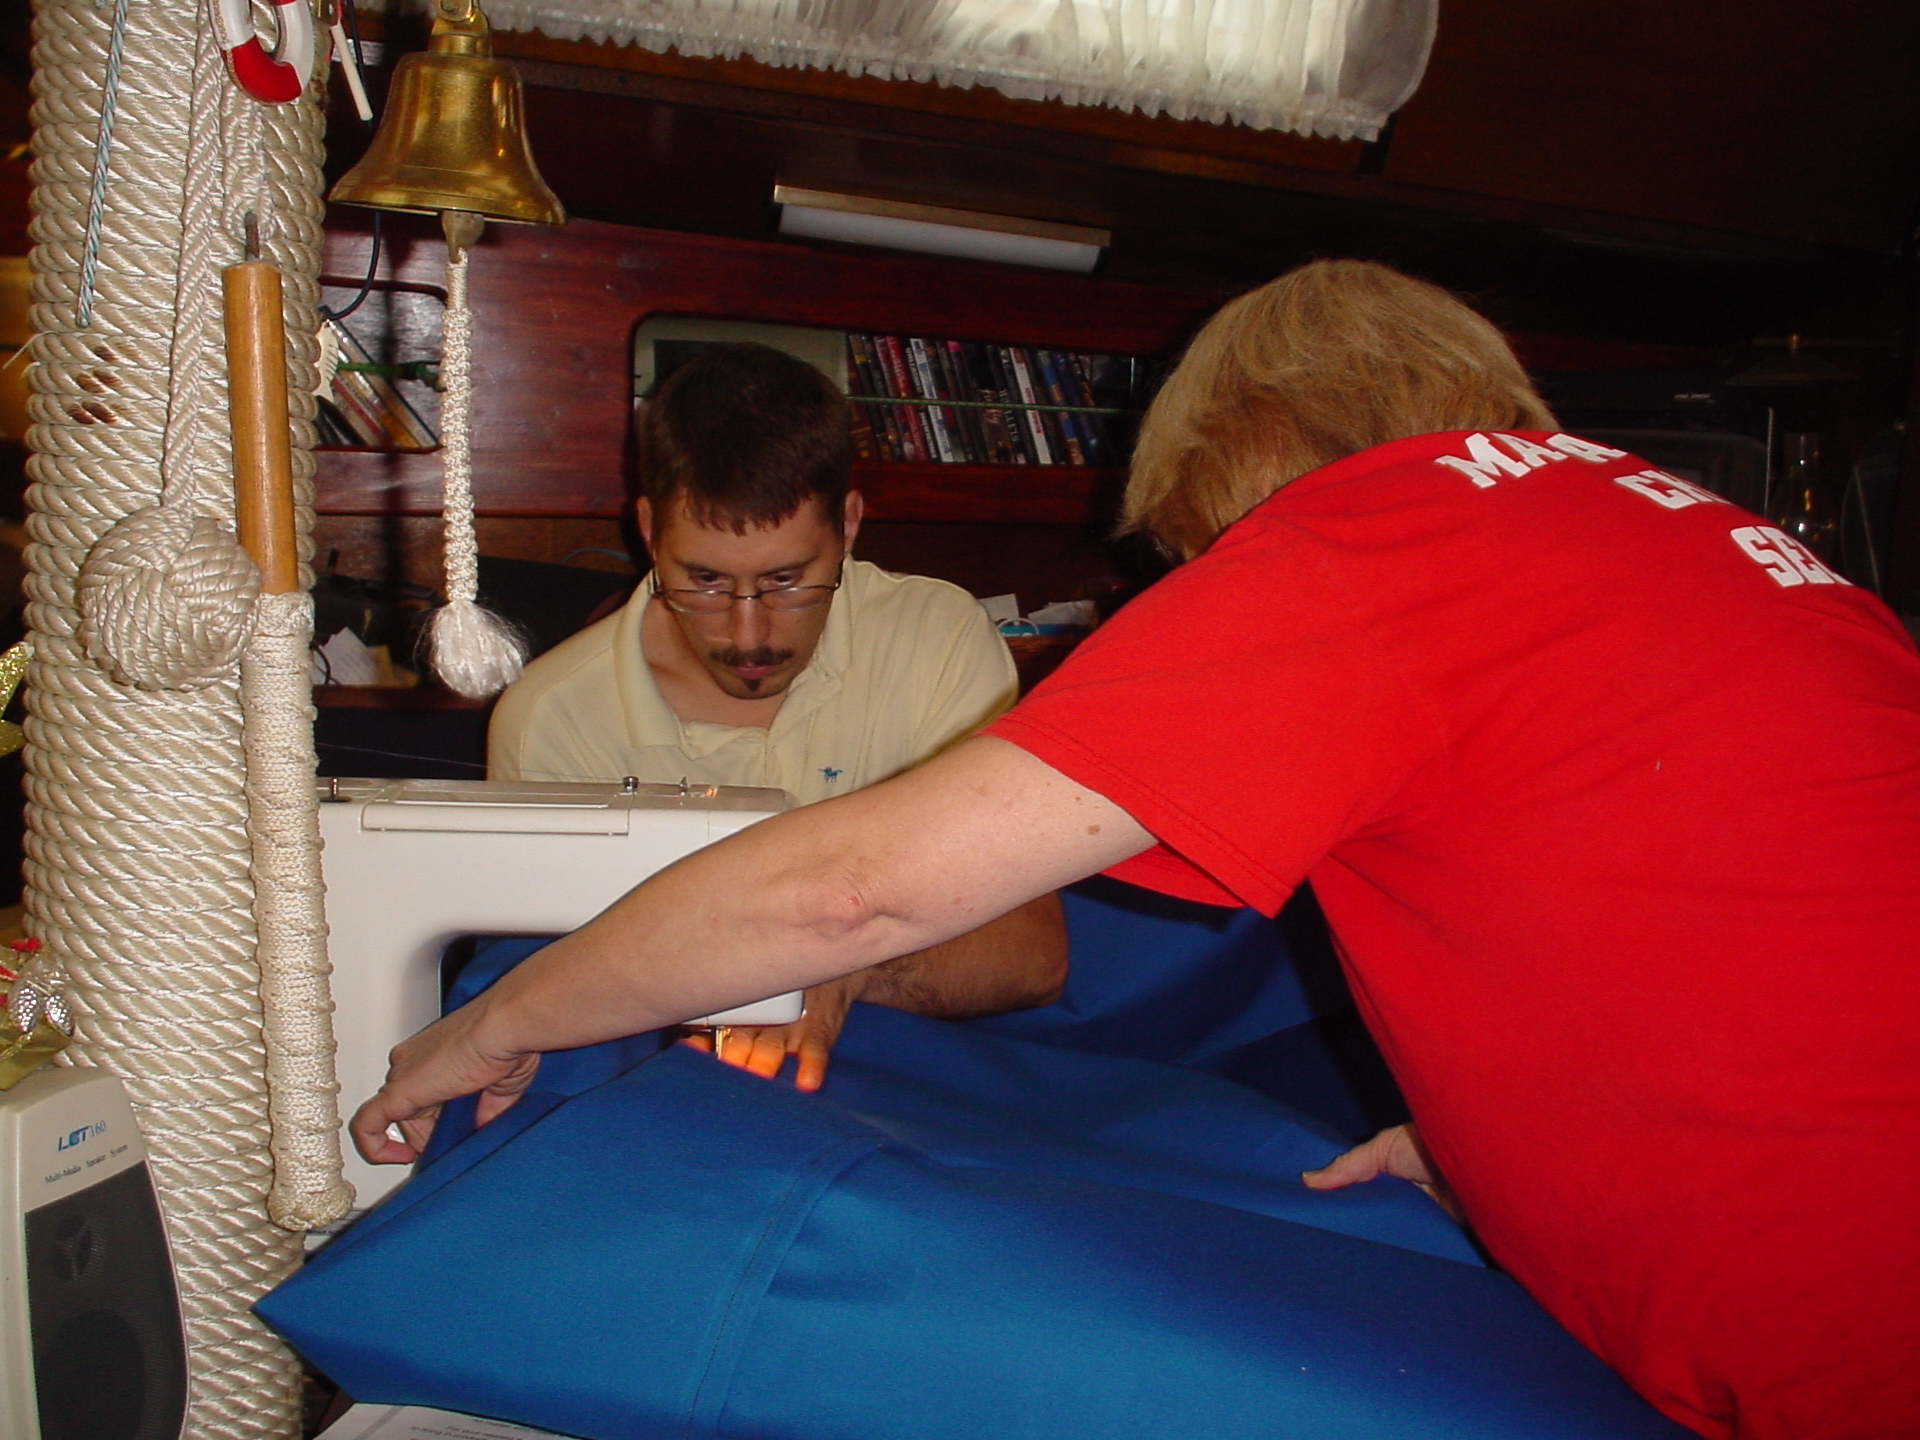
It is now time to do something about the sail covers. We practiced on heavy materials which we used to make a sail bag, winch covers, and kayak cockpit cover, and felt able to tackle the big job. The mizzen cover is the smaller of the two covers, so we thought that would be easier to start with. After measuring the old cover and the mizzen boom, we figured we needed at least ten feet of 60” material. The old cover fit in spots and not in others so we planned to adjust as we cut the material. We were not able to pin the material because it was so heavy, so we took our time with it as we held seams together while sewing. There were times when we needed two people to manhandle the material – one on the way to the machine, the other person just on the other side to help direct the material and ensure that the sewing machine didn’t move.
The material we used is called Sunbrella. Sunbrella is a tough fade-, mildew-, water-stain resistant, and water repellant, acrylic material which seems now to be a standard in marine applications. We bought 12 feet (3 yards or 3.67 meters) of 60” wide Sunbrella in Pacific Blue (the old colour) at a shop in our marina; it was the end of a roll and we thought we could always use the extra material.
The old cover will not be wasted. Most of it is still in decent shape, so we’re planning on using it to make a bag for our deck chairs and since both old and new covers are the same colour, the chair bag will be colour-coordinated with the sail covers.
Our sewing machine is not an industrial model, but is capable of sewing denim and leather, so we didn’t expect problems with the Sunbrella.
While it was on the boom, we marked the old sail cover with tailor’s chalk near the upper seam to indicate how much wider the new cover had to be.
We placed the old cover, folded in half lengthwise, on top of the new Sunbrella, on the floor of the laundry room in the marina (boats don’t have an area large enough to lay out so much material). We decided to be consistent about how much larger the new cover was to be, rather than make it 2 inches here and four there. We placed the old cover straight bottom edge about four inches from the edge of the new material and chalked the new upper outline. The front and back had to be extended, so we added about 6 to 8 inches - no measuring here. Our theory is that it’s better to have it too big than too small.
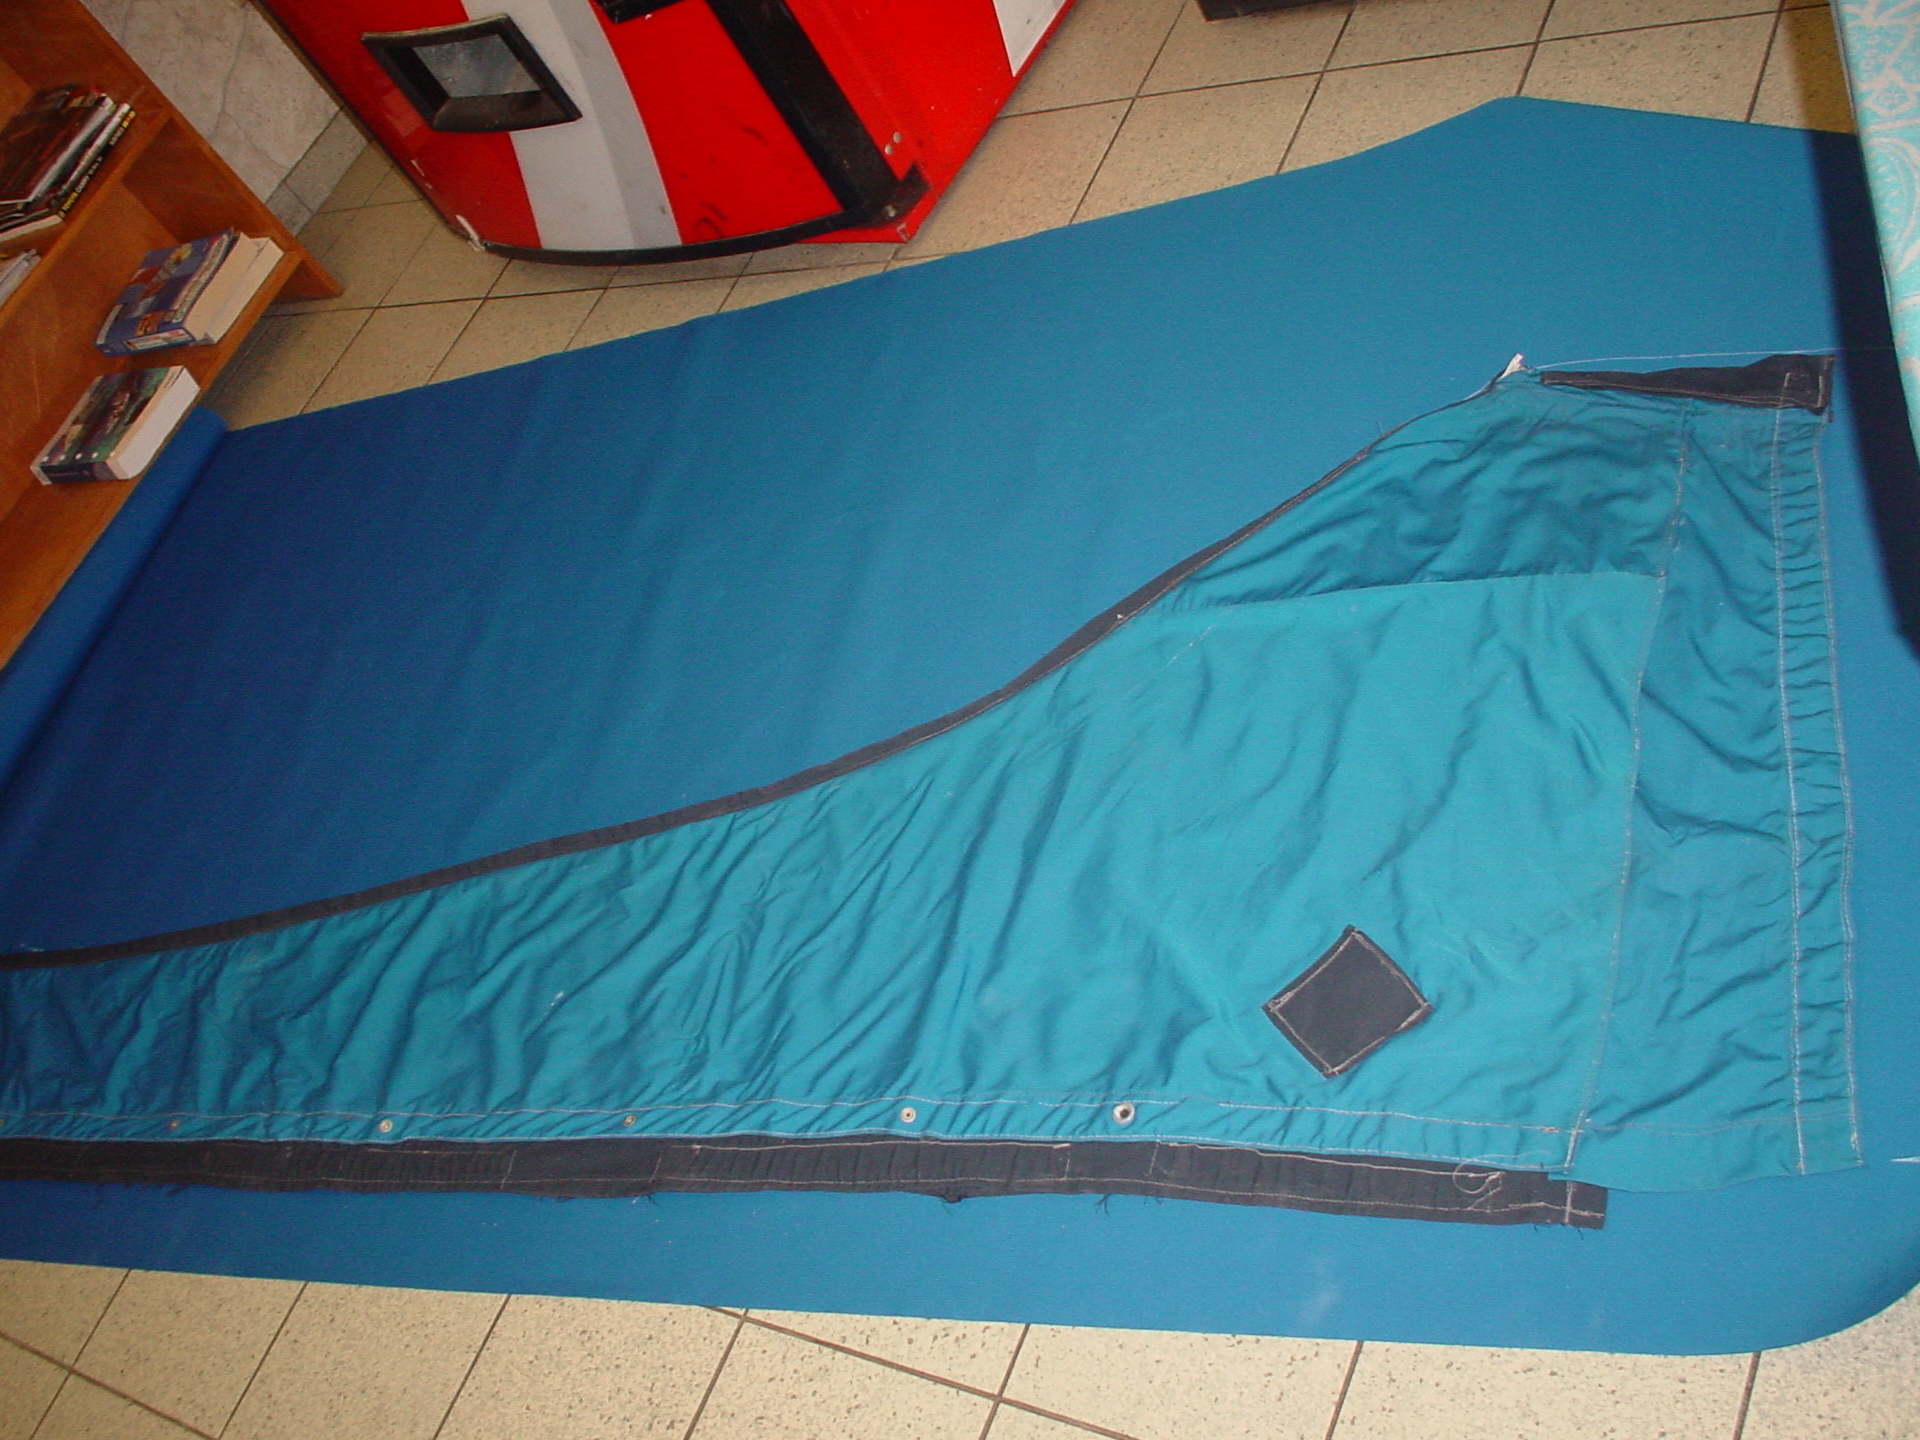
For the other side, we placed the newly cut first side the other way round on the material; that way we could use the minimum amount of material.
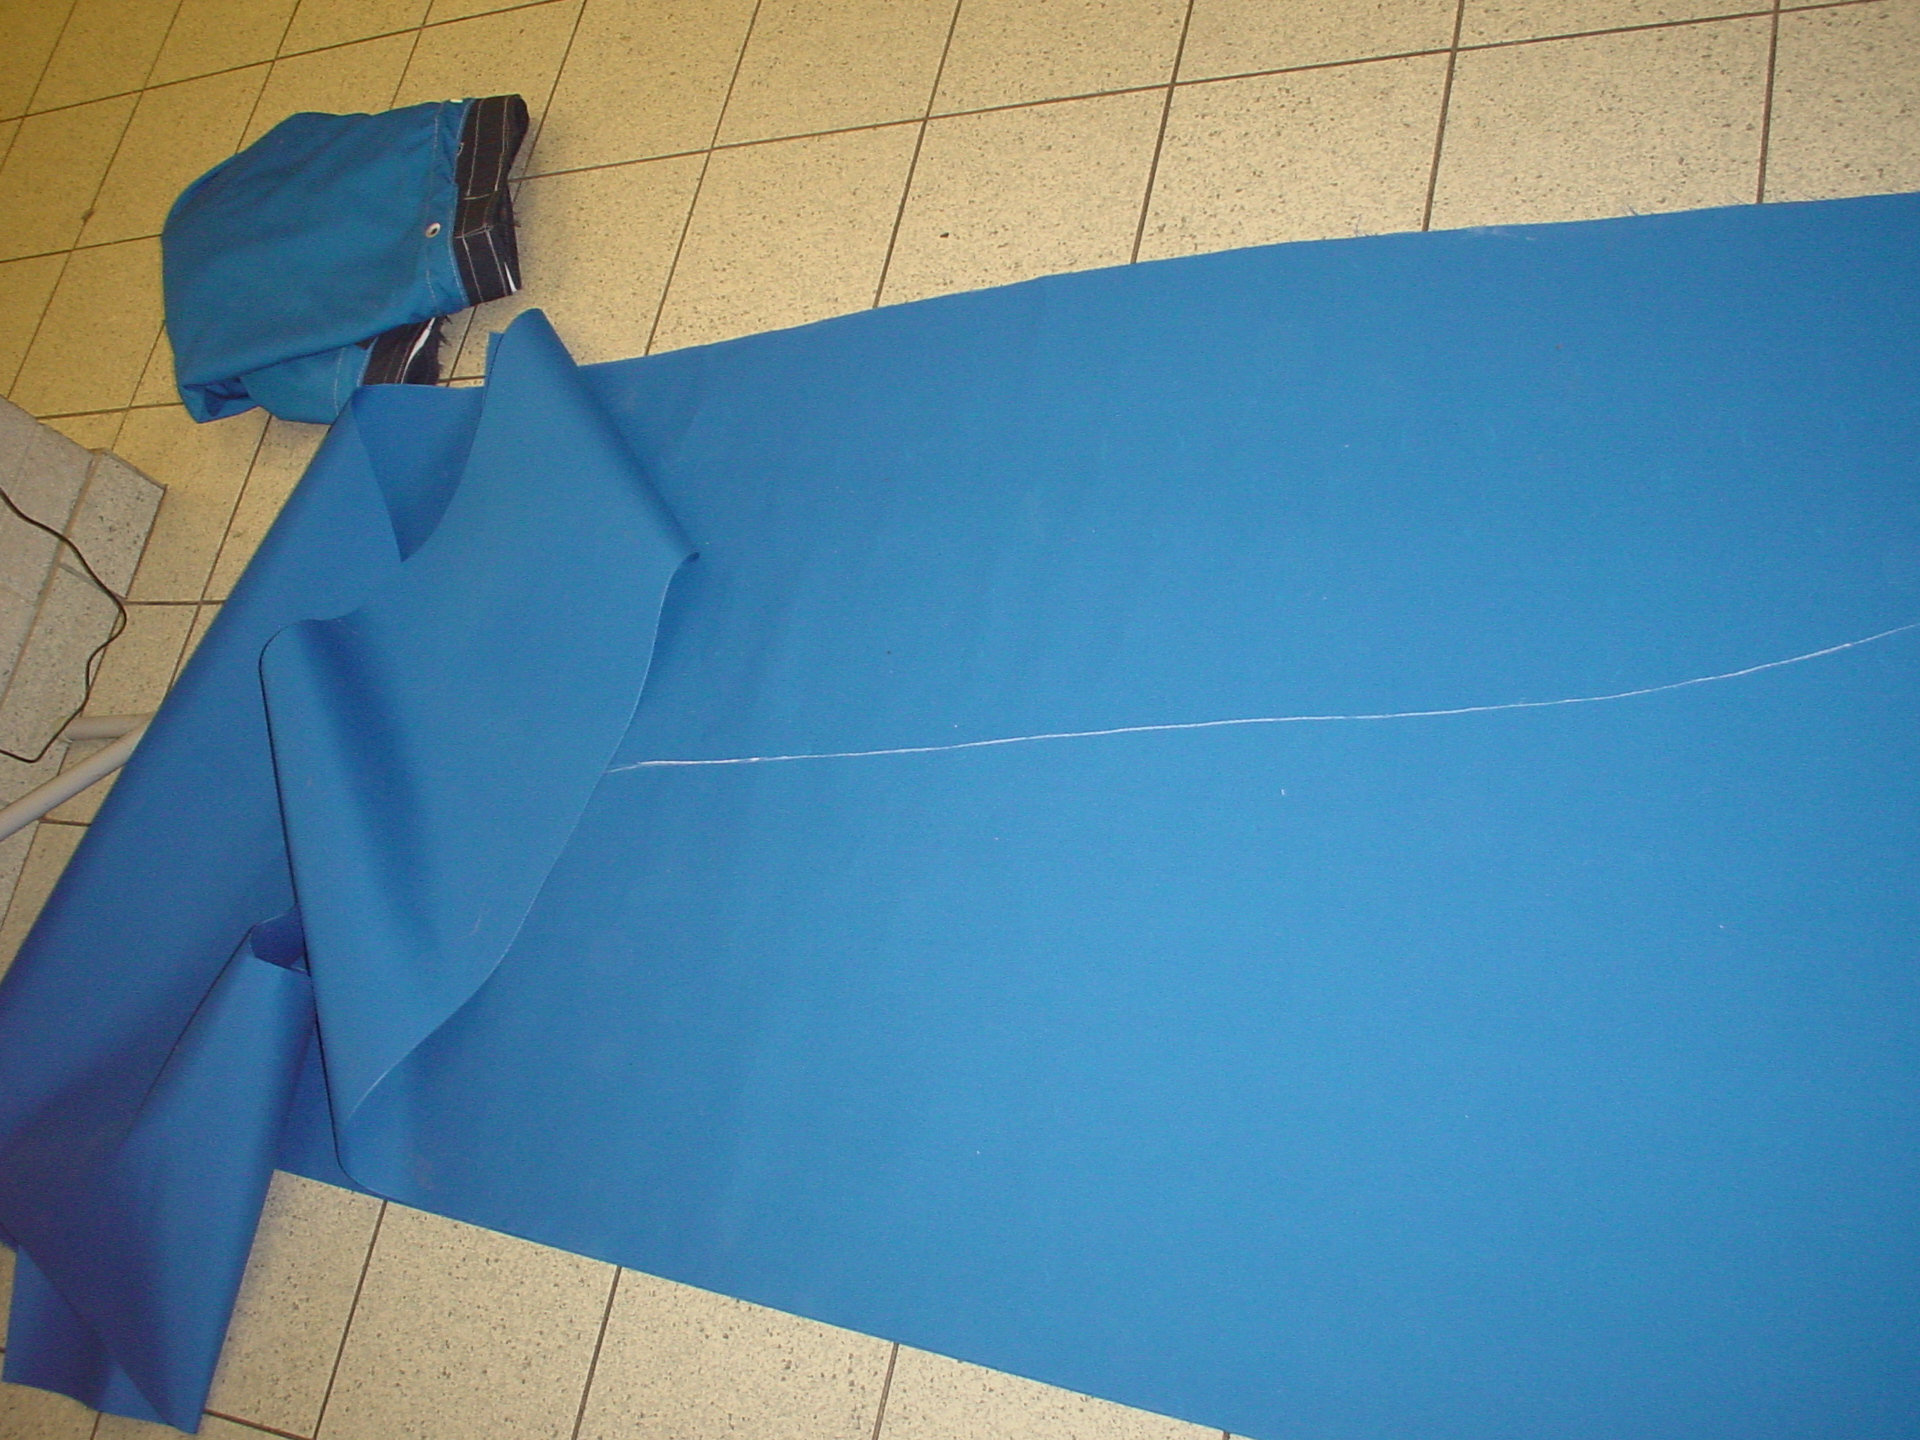
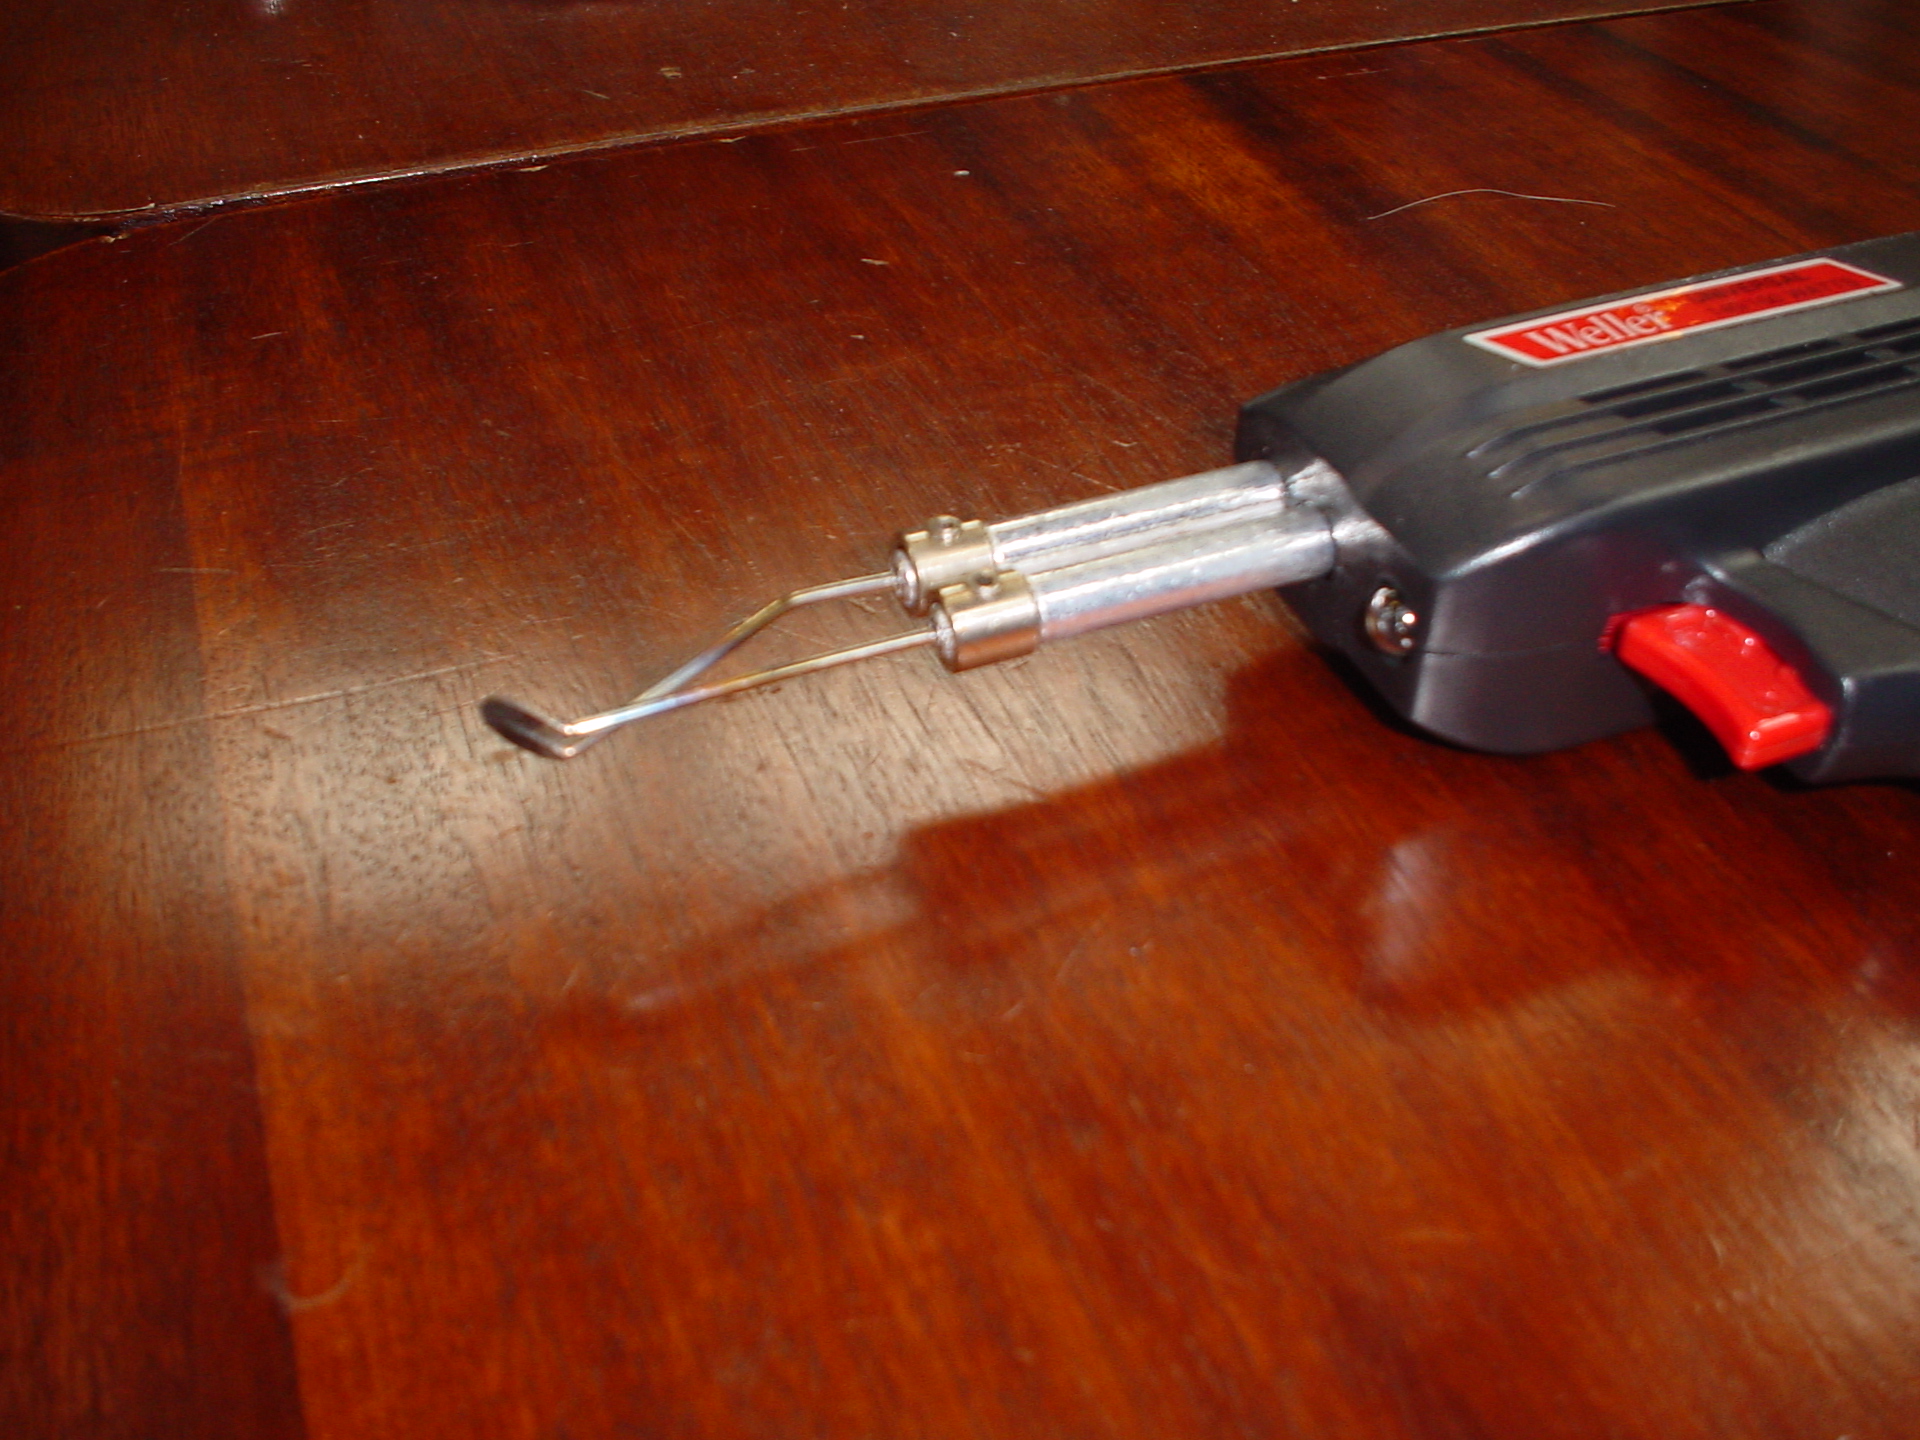
Sunbrella tends to unravel a bit, so we melted the top edges which were cut. The bottom edges had been melted at the factory. We have an attachment to our soldering iron, which is just perfect for the job.
(Angi: I found that I had to have an extremely light touch with the soldering iron. The material melts quickly when on full heat. It took longer, but was less destructive of the material to hold the material in my hand and lightly run the iron over the edge, instead of laying the material down and ironing the edge flat, but I actually did both to be on the safe side.)
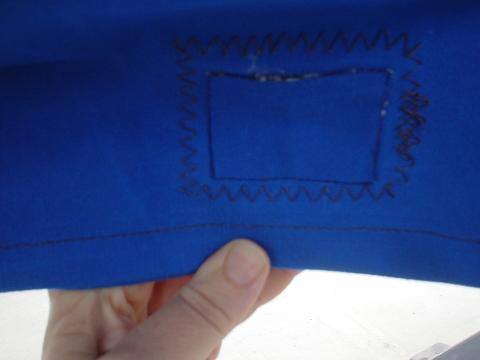
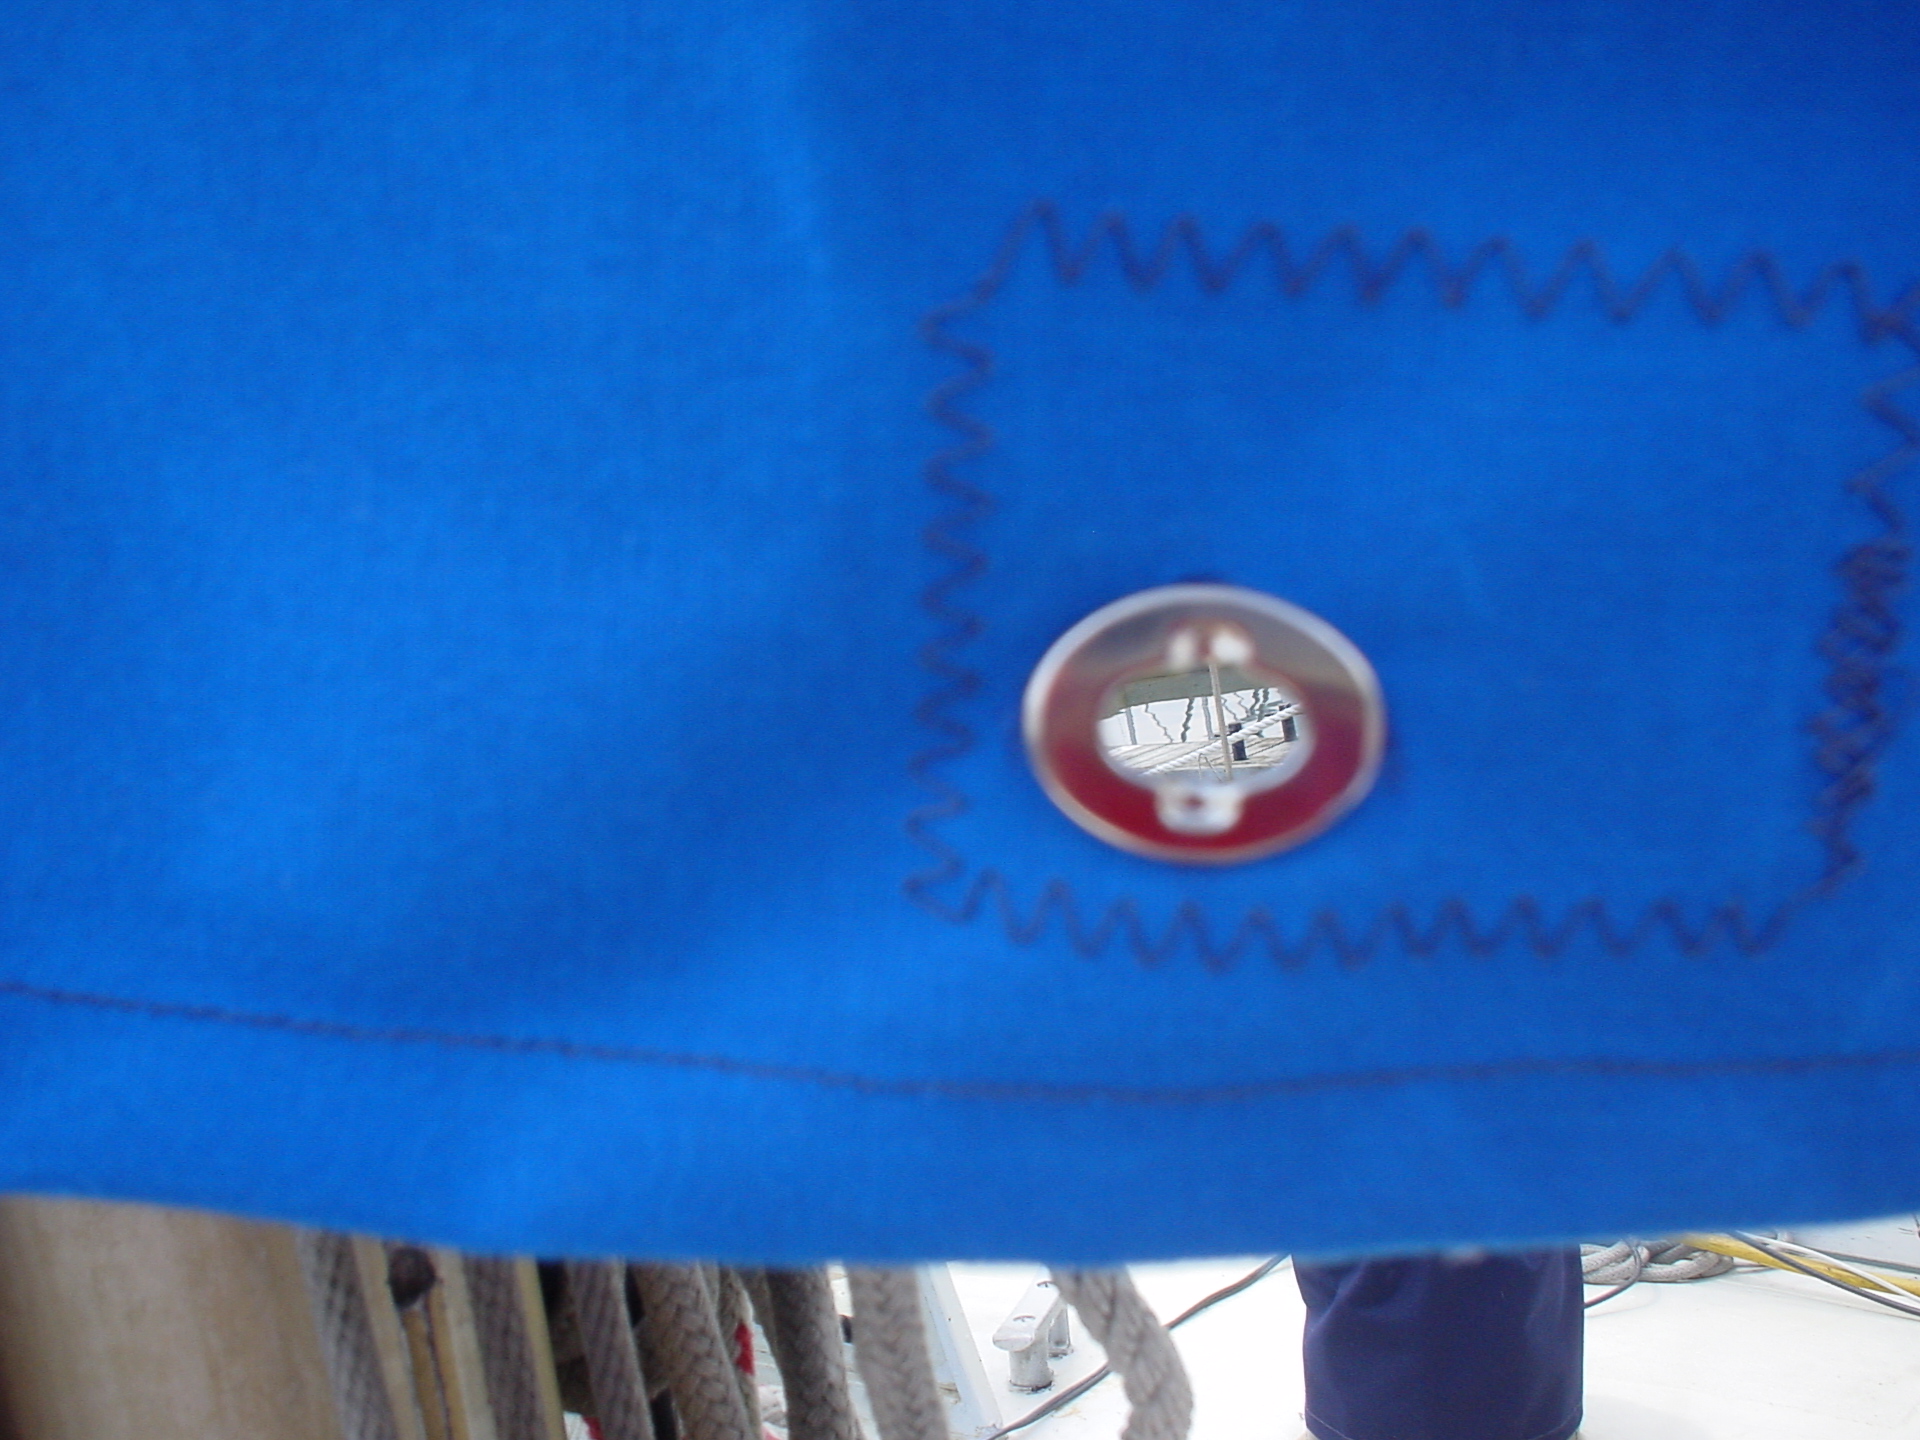
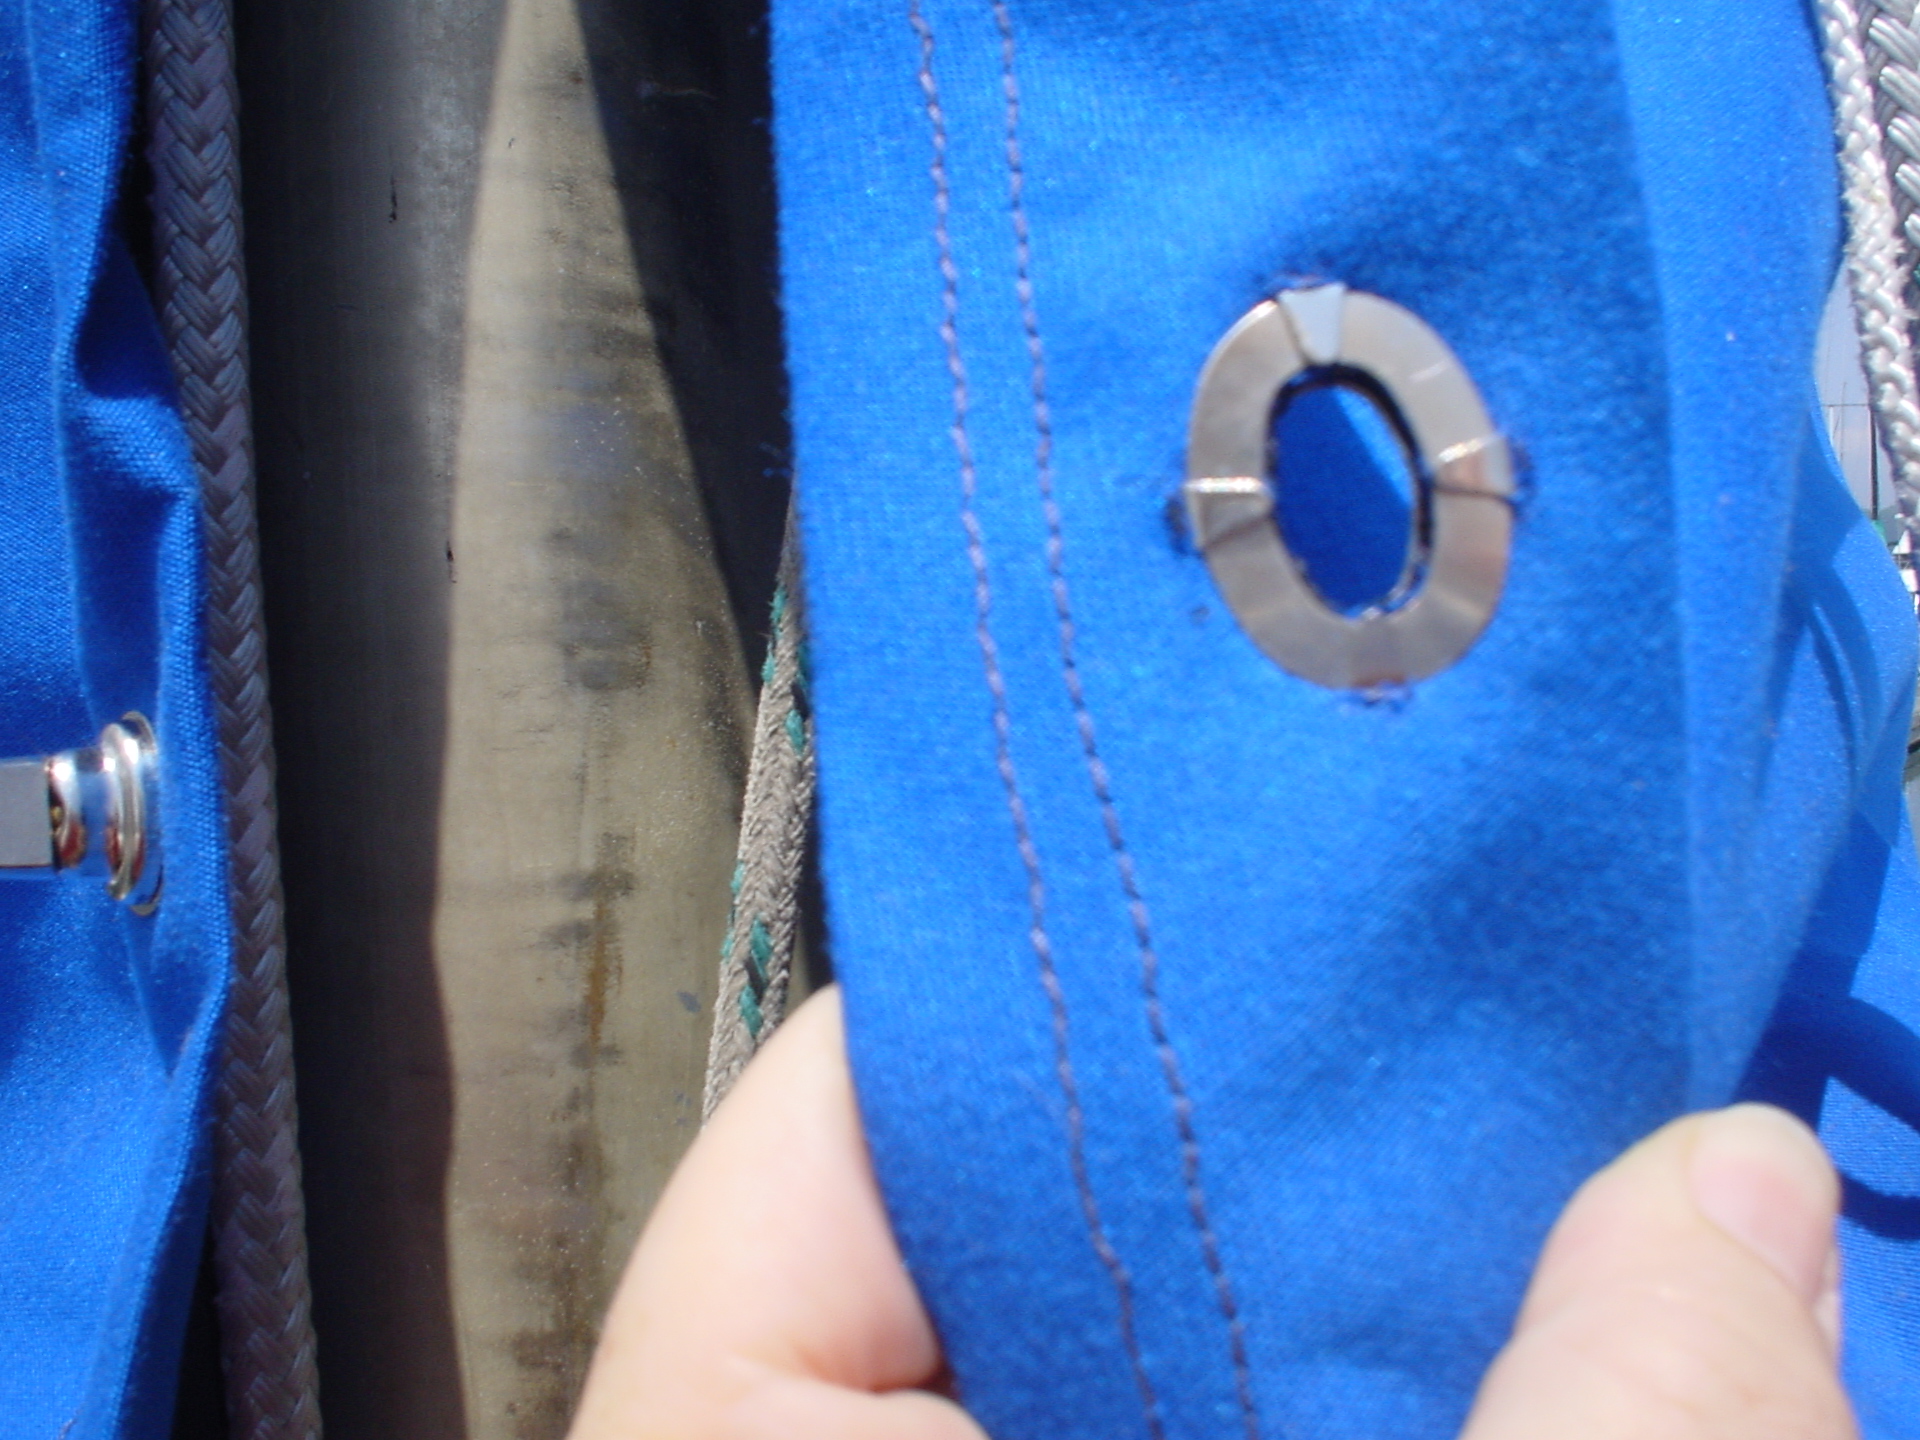
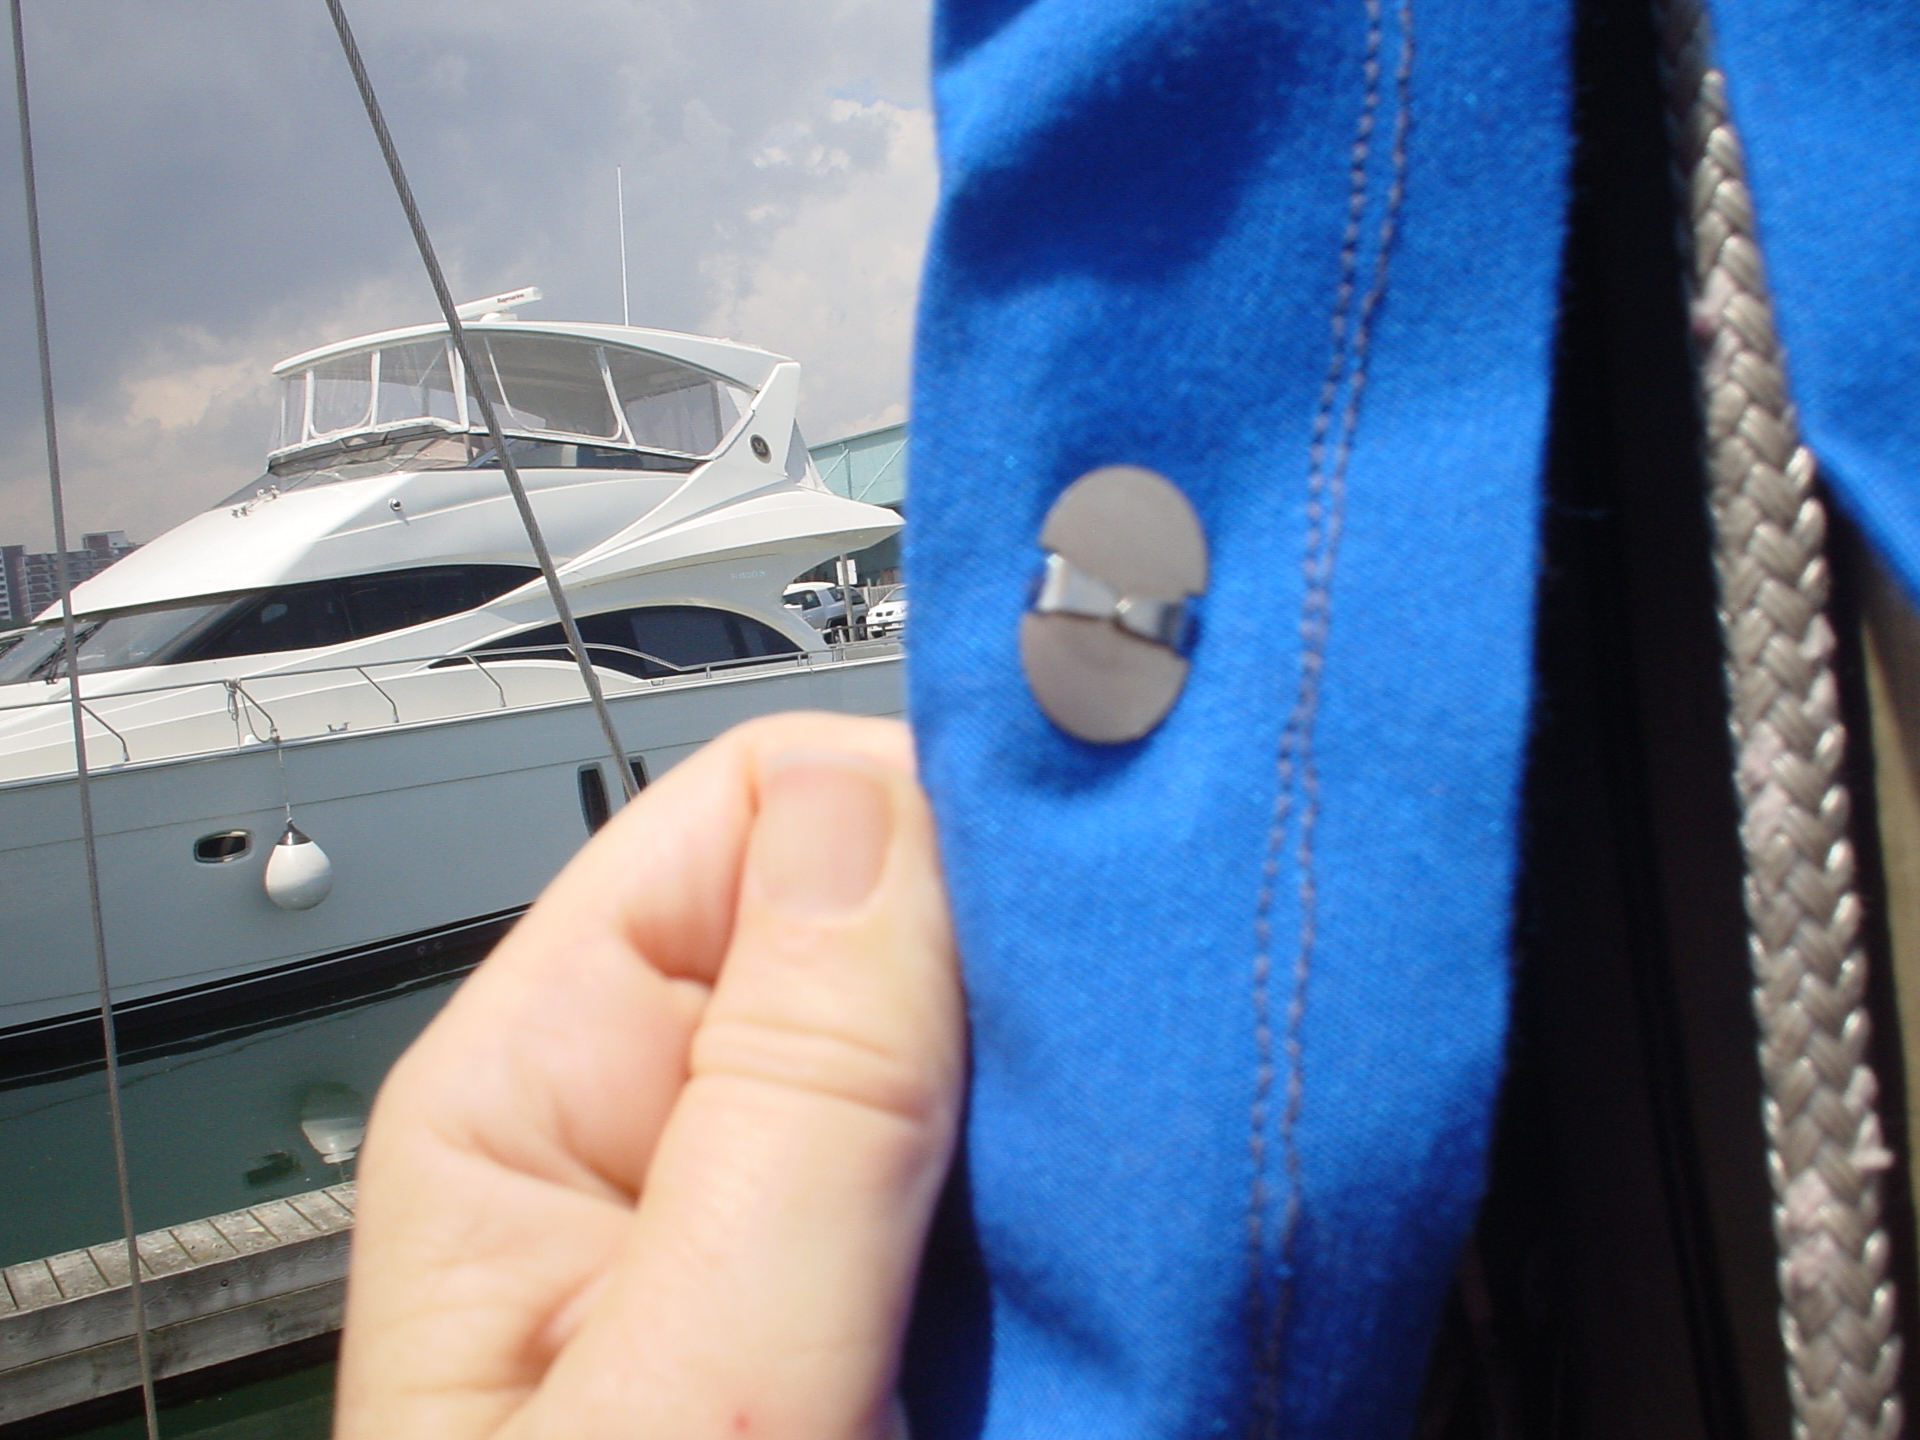
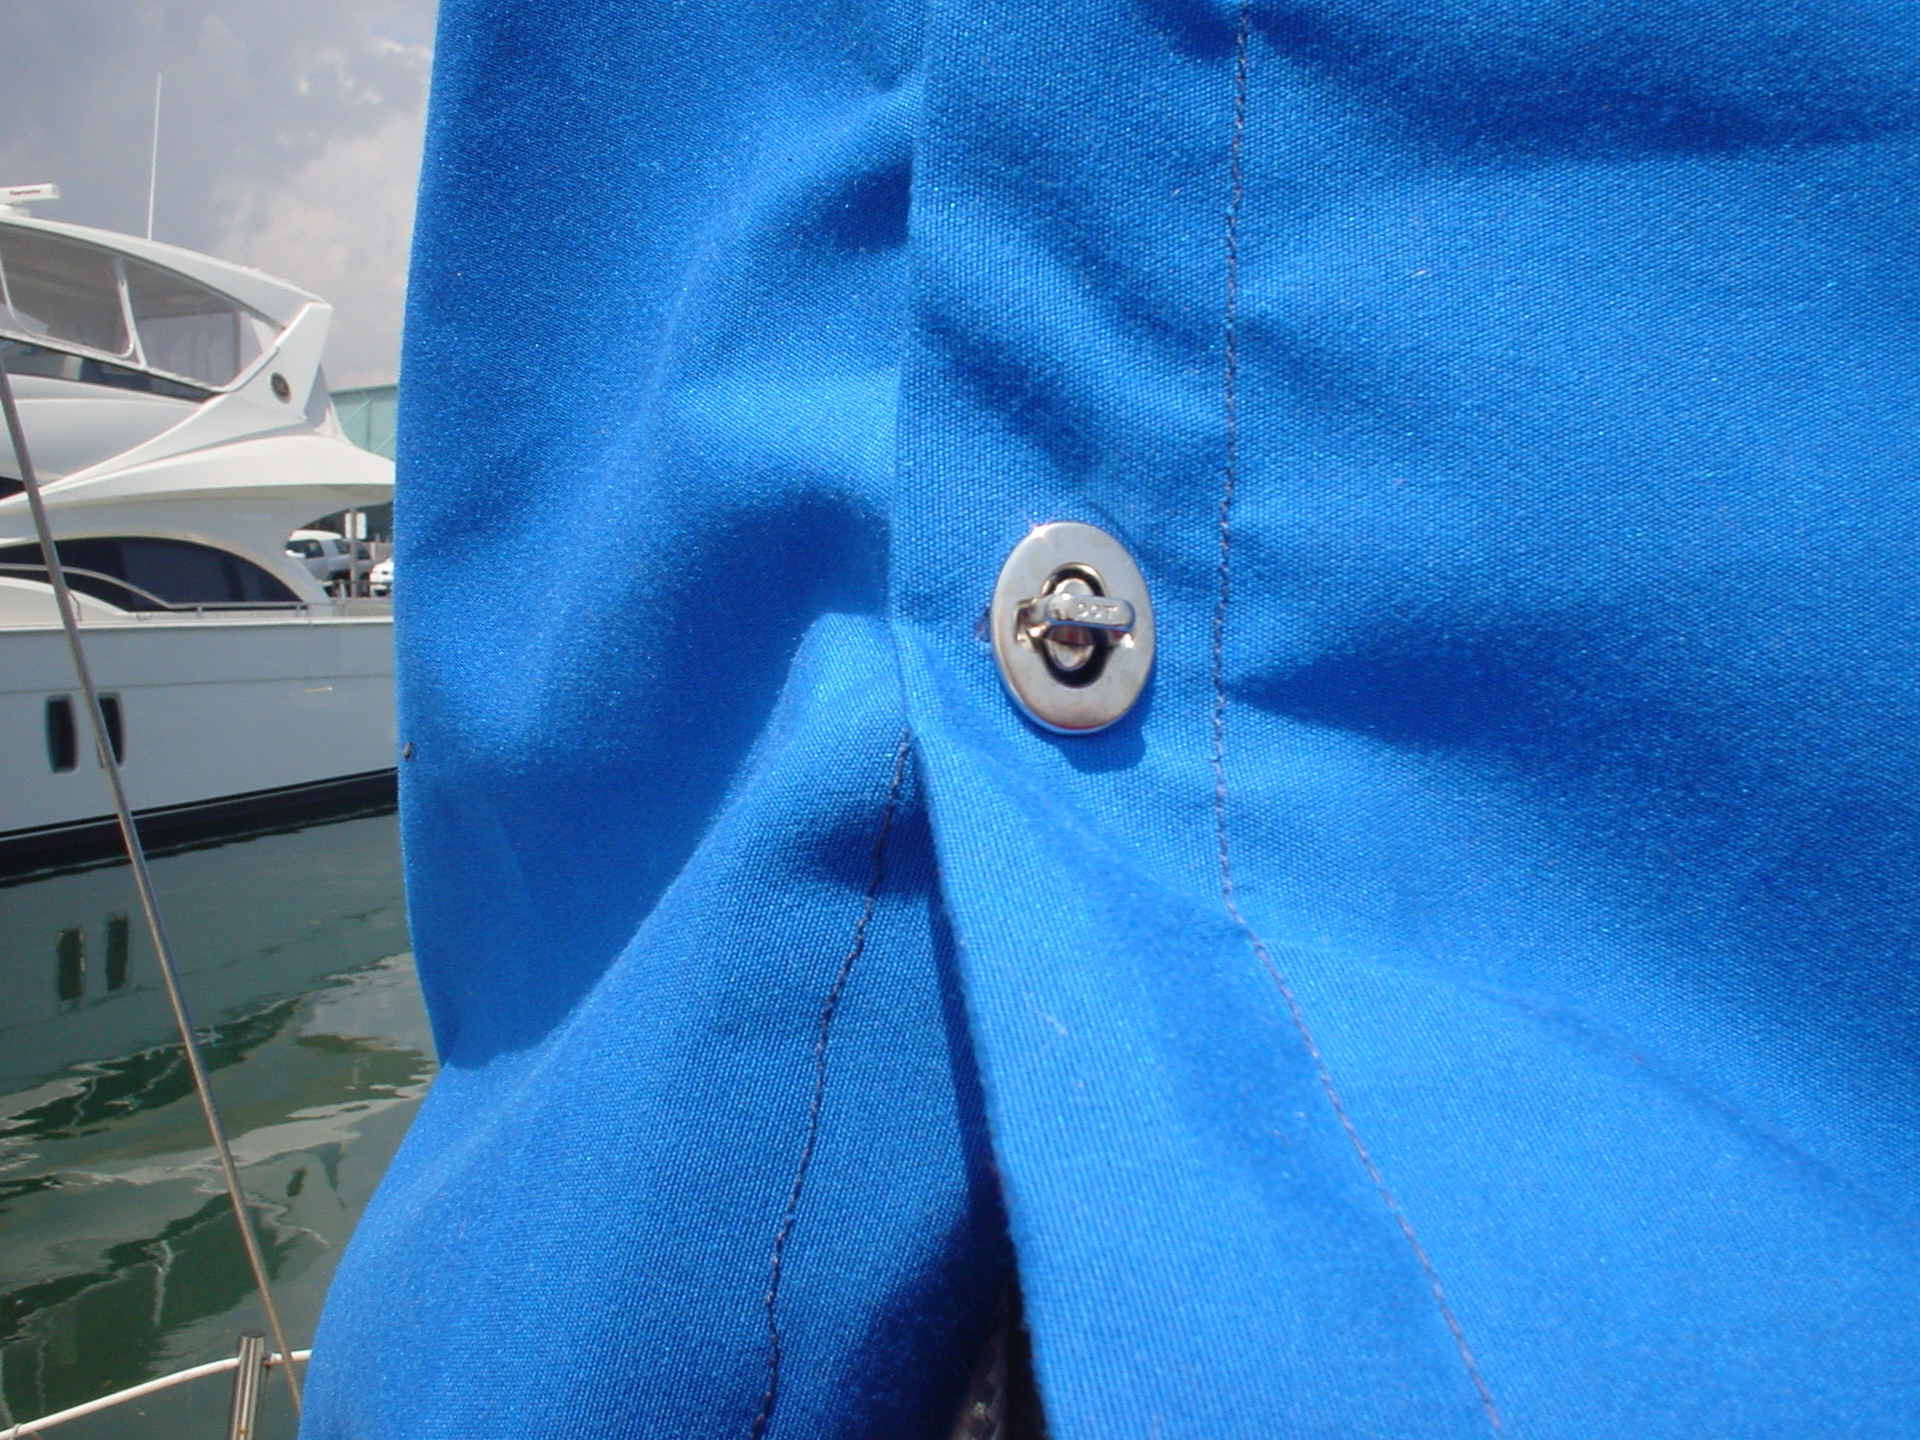
We sewed the upper seam first and then placed the new cover on the boom to check for sizing. We then marked the areas which had too much material. We decided not to cut the material, since we have toggle closers that clip through the material. All areas at the bottom of the cover required little patches to strengthen the spots where the closers were added. Doubling the vertical hems at the mast instead of cutting the extra material off meant we didn’t have to make the patches for that area. We also didn’t bother to melt the other edges since the material would be folded over twice, so the edges were well-hidden and protected.
For the end of the boom and the top of the cover at the mast, we sewed a hem and then folded the material to sew a pocket for a thin rope so that we could tie off those areas.
After the sewing was completed we placed the cover on the boom and marked the spots for the closers, ensuring they didn’t interfere with winches and blocks.